Company adding
The process of company adding
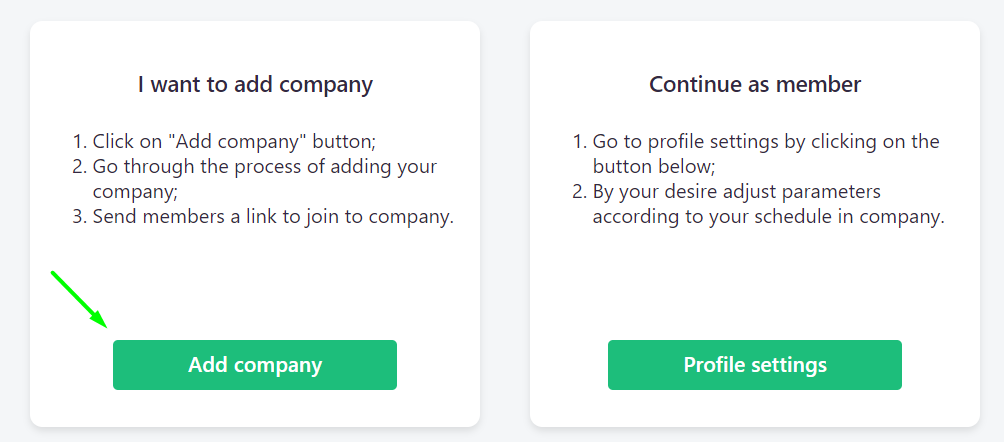
After registration in AssistBot, you will be offered several options for continuing your work. Select "Add company":
Follow the steps described below:
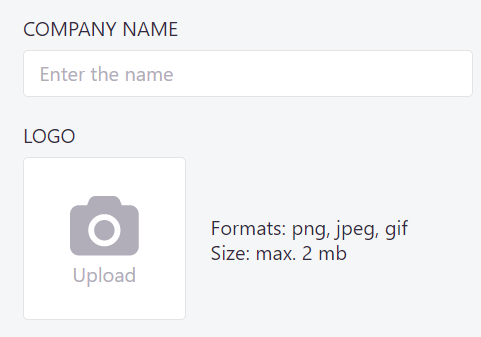
- Enter the company name, upload the logo if you wish:
- If desired, add departments. You can add departments at any time after the adding company. Please note that the department "All members" is mandatory. This is a system department with the help of which you can manage your members later:

- By default, the system will notify you in the personal profile whenever someone send a request to join your company. If you want process such requests automatically by the system without your participation, check the "Automatically add new members":

- Set the company working days, as well as the company work start and end time. These settings affect the default work days and time during creating an elements, and will be used to set the personal workdays and time of new members who join your company. Keep in mind that each member can independently set their working days and time in the personal profile settings:

- Set the time zone of your company if it was not correctly defined by the system. All time-based notifications from your company will be sent according to the time zone displayed here. This setting will also be used to set up personal time zone settings for new members who join your company. Keep in mind that each member can independently set his time zone in the personal profile settings:

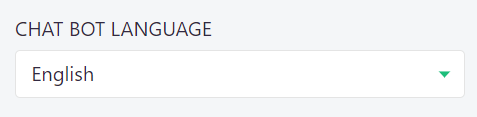
- Set the chat-bot language. This setting affects the language in which alerts will be sent to members from your company. Keep in mind that this setting does not affect the language of text you will use during creating an elements:
- Click on "Link messenger" button;
- Select an application and link it to the company using the provided instruction;
- Click on "Get started" button.